Fall Leaf Print Booklet Instructions

Supplies: paper, broken crayon, string, watercolor paint set, cup of water for painting

  1. Gather a variety of leaves! Flat leaves are easiest to use. Look for different shapes and sizes. Softer leaves are easier to use than leaves that are completely dry.

  2. Lay the leaf on your work surface with the back side facing up. The back has the most texture, so it gives the best print. For younger artists, it helps to tape down the leaf.

  3. Put your paper on top of your leaf.

  4. Using the SIDE of your broken crayon, rub the paper with medium to hard pressure over
    the leaf. Make sure to press down around the edges. (Note: don’t completely cover the paper with crayon or the watercolors won’t stick at all!) Make more! Use one leaf or several leaves – it is your choice!

  5. Using the paintbrush, add small drops of water to the watercolors that you want to use.

  6. Paint over the leaf rubbing. The watercolors don’t stick to the wax crayon, so the leaf print shows up through the watercolor.

  7. Allow the prints to dry completely.

  8. Choose your favorite print to be the cover of your book. You can add a title and your name if you would like! Arrange your pages, making sure the holes line up.

  9. Use the string to loosely stitch the book together. Put the string through the bottom hole and tie a gentle knot. Now open the book to make sure it isn’t too tight and that it can open. Bring the string back up through the hole with the knot, then under and up to the next hole
    and so on. At the last hole, tie another loose knot to secure the binding
    (check again to make sure the book can open). Enjoy!

Hands On! At Home Art for Families: Collage Instructions

How to Make a COLLAGE

What is a collage? A collage is a piece of art made with a variety of materials! Use your imagination!

Find a safe workspace that can get messy and a scissors.

Ask a grown-up to help you open the glue. The tip might need to be cut off depending on the type of glue you have.

You will glue the collage to the cardboard.

Spread out your collage materials (paper, foam, gems, pompoms).

Use scissors to cut the paper and foam into interesting shapes (a car, sunshine, flower, bug, peace sign, funny face). Or, use your fingers to tear the paper into random pieces! Or, do both!

Glue the papers all over the cardboard. This is the background. You can glue paper on top of paper to add layers to your picture. Cover the whole space or leave some blank. Use markers or crayons to add to your design, but don’t get those in the glue. Yuck!

Now glue on the foam, gems, pompoms, and googly eyes if you choose. What you add is up to you! You might find other things around your home to add to it as well

Allow it to dry before putting it on display. Clean up your mess!

Wow! Wasn’t that fun? Ask a grown-up to help you find another piece of cardboard and make another one! Use scraps of paper. Cut words out of food packages, newspaper ads, and magazines. Draw funny pictures and cut them apart. Add a photo! Use stickers.

What else can you find to add to your collage?

Do something creative every day! Thanks for making art together.


Hands On! At Home Mosaic Class - Simple Mosaic Instructions

THINSET TILE ADHESIVE

• This is the white powder in your kit packed in a mixing container.

• Add water in small amounts to achieve a frosting-like consistency. Mix with the plastic knife.

• Keep some dry thinset back just in case you add too much water.

• Stir often & cover if you need to step away.

• It has a “memory” – apply fresh thinset if you move a piece.

• Throw in garbage when done (never put in the sink).

SUBSTRATE

• The substrate is the back of a glazed 4” x 4” ceramic tile.

• You will glue the mosaic pieces to the rough side of the tile, not the shiny side.

MOSAIC MATERIALS (also called TESSERAE)

• Stained glass and mirror (thickness will vary)

PROCESS

• Design your mosaic before mixing thinset.

• Create a simple pattern or randomly place your mosaic materials. Don’t leave gaps!

• Lay out part of your design and then start to glue. It is difficult

to lay out the entire design and then glue.

• Bring your design all the way to the edge.

• Glue the mosaic pieces close together.

• Butter the backs of each mosaic piece with your yellow knife.

• Thinset should squish out the sides a bit but NOT come up & over the top. Use less thinset if this happens.

• Allow to dry for at least 24 hours before grouting.

GROUT

• This is the black powder in your kit (packed with gloves in a mixing container).

• Always use a powdered, SANDED grout.

• Wear disposable gloves & dust mask (if available).

• Put down old newspaper on your work surface.

• Mix grout with water to be thick like cookie dough. I mix it with my fingers.

• Always keep some dry grout just in case you add too much water. If it’s too runny, allow it to sit for a bit to set up.

• Rub grout all over with your fingers, pressing into the gaps and sides (use the crumbs to fill in as needed).

• If a piece comes loose, use whatever quick dry glue you have available (like liquid nails, silicone caulk, Weldbond) & fix it. Hold it in place while you grout carefully around it.

• Use a crumpled newspaper to “scrub” it off – do NOT use anything wet.

• The grout will get very hard when it dries and cures, so you need to clean it while it’s wet.

• Use something with a sharp edge to clean out around areas with height differences (skewer, toothpick, Popsicle stick). Throw in garbage when finished (never put in the sink).

• Dark grout is often the best choice.

Hands On! At Home Mosaic Class through the Scott County Library

Thank you to the Scott County Library for the opportunity to convert a cancelled in-person mosaic class to an on-line mosaic class! My very patient husband rigged up my phone to a tripod using rubber bands and painter’s tape. I didn’t want to invest much time or money in editing the videos, so it had to be “good enough” in one take! (That, or I would need to re-record the whole thing!) My art studio is on the front porch of our house and this past week’s snowy Sunday turned out to provide the perfect light for my “how to” video. I have had to stretch my technology skills and make decisions on the best materials to include in a kit for a successful at-home project. I am grateful for a project that helps me connect creatively with others in my community!

A mosaic kit - all ready to go!

A mosaic kit - all ready to go!

Flathead River, Montana in process

I got to go fly fishing on the Flathead River in Montana this past summer! I was mostly along for sightseeing but did manage to catch a rainbow trout. Head over to my mosaic portfolio page to see the finished piece.

Flathead River process.jpg

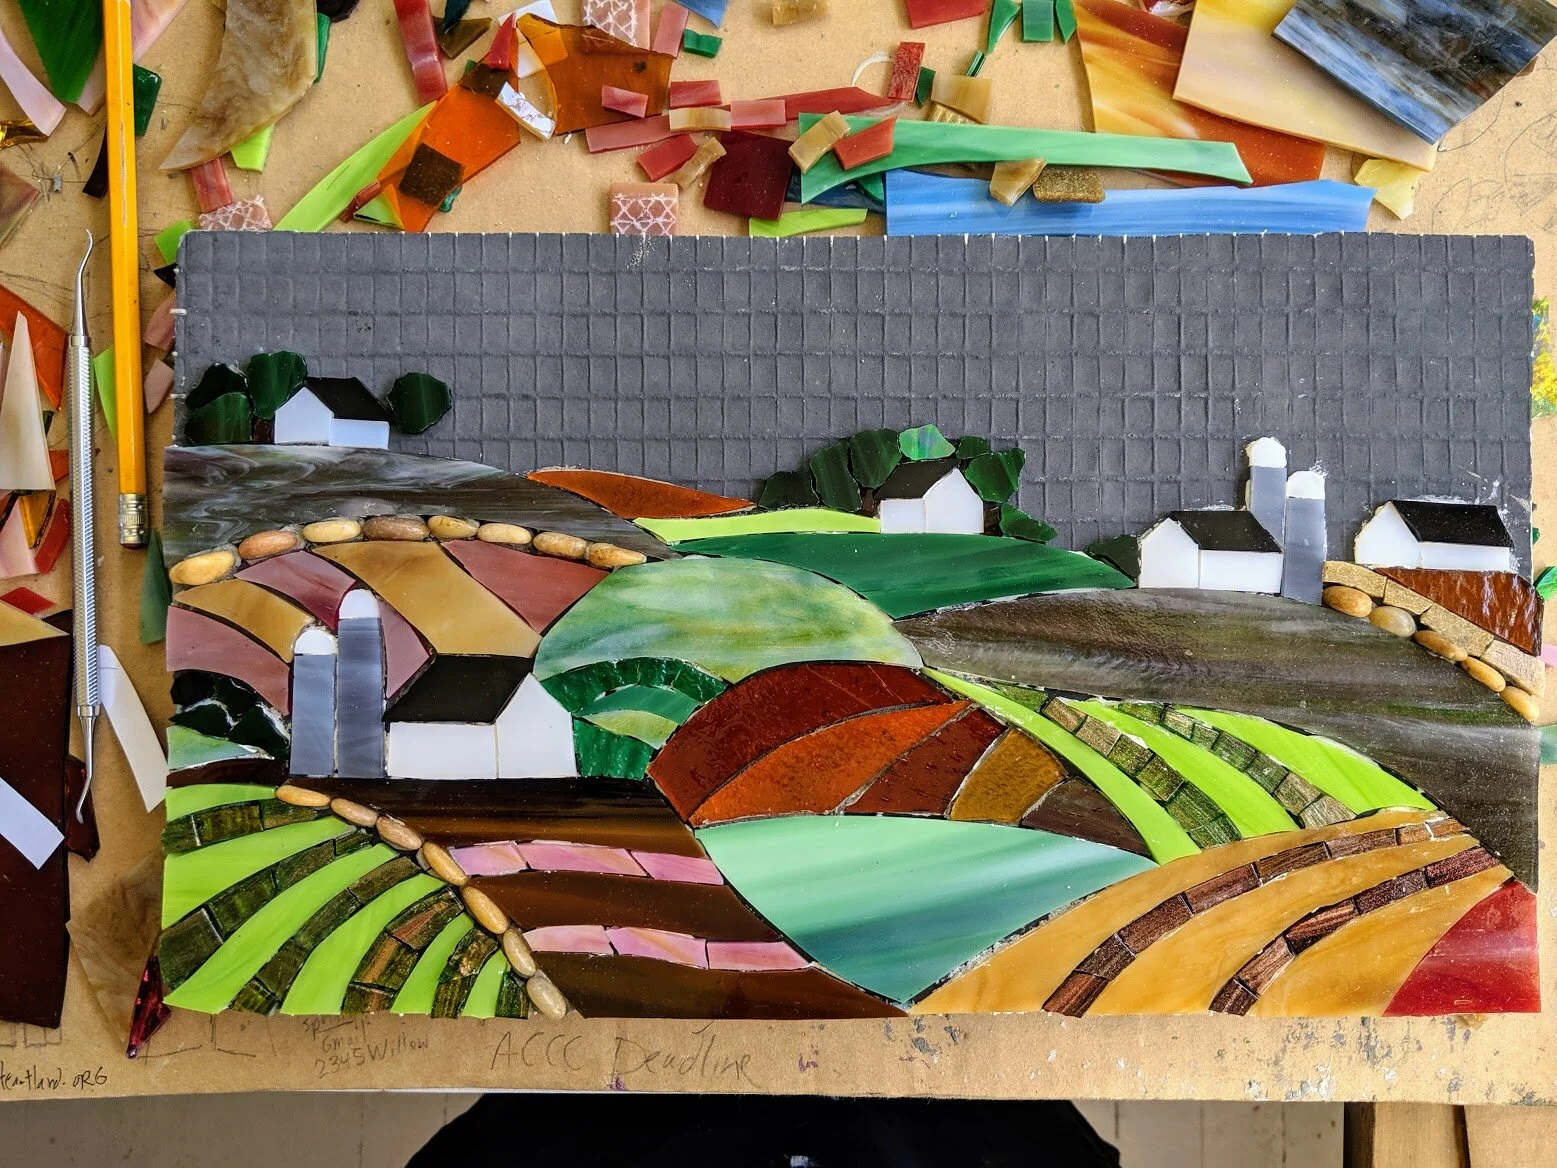
Country Roads, Take Me Home in process

What I love about creating in mosaics is being able to move pieces around, try different colors, materials, etc.

Country Roads process 1.jpg
Ugh!  See that tree about the house in the middle of the piece?  I was working after the sun went down and didn’t notice that the iridized side of the glass was facing up!  I had to peel that up when the sunlight hit it the next day.

Ugh! See that tree about the house in the middle of the piece? I was working after the sun went down and didn’t notice that the iridized side of the glass was facing up! I had to peel that up when the sunlight hit it the next day.

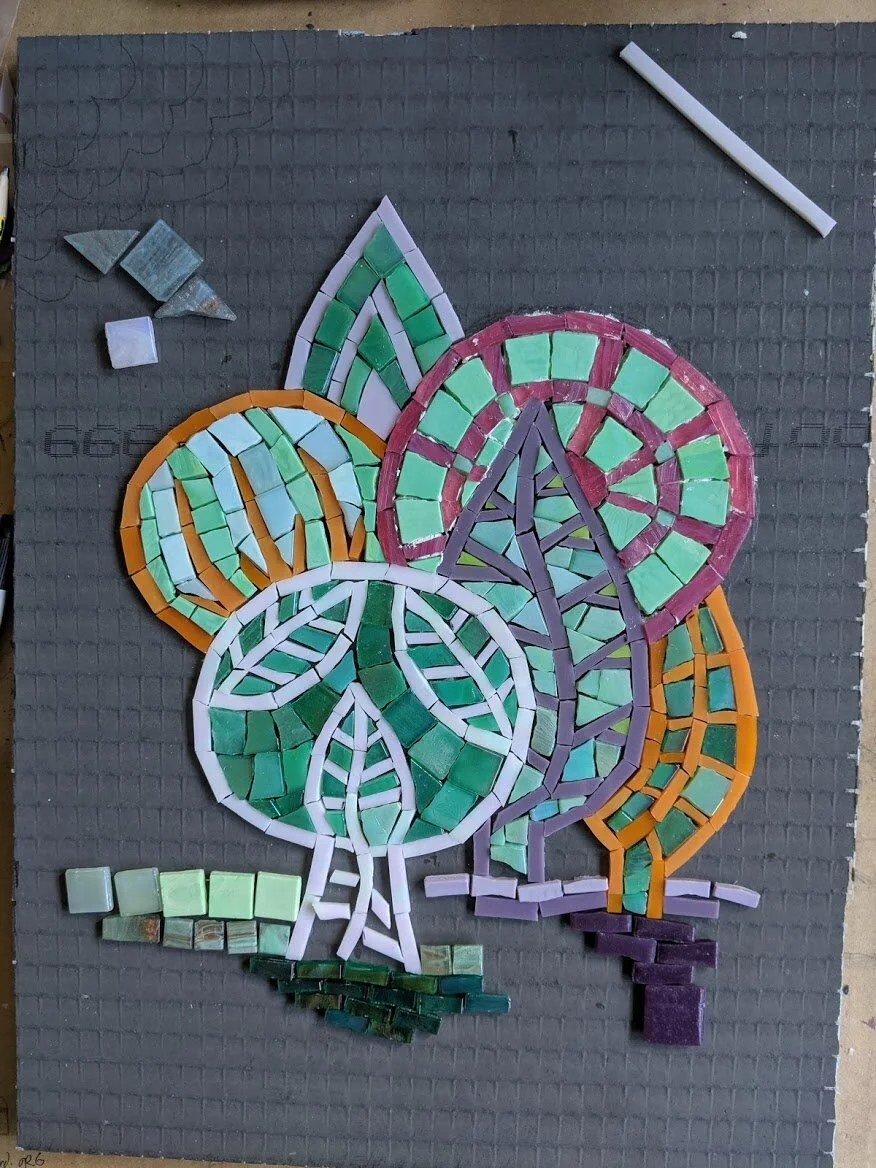
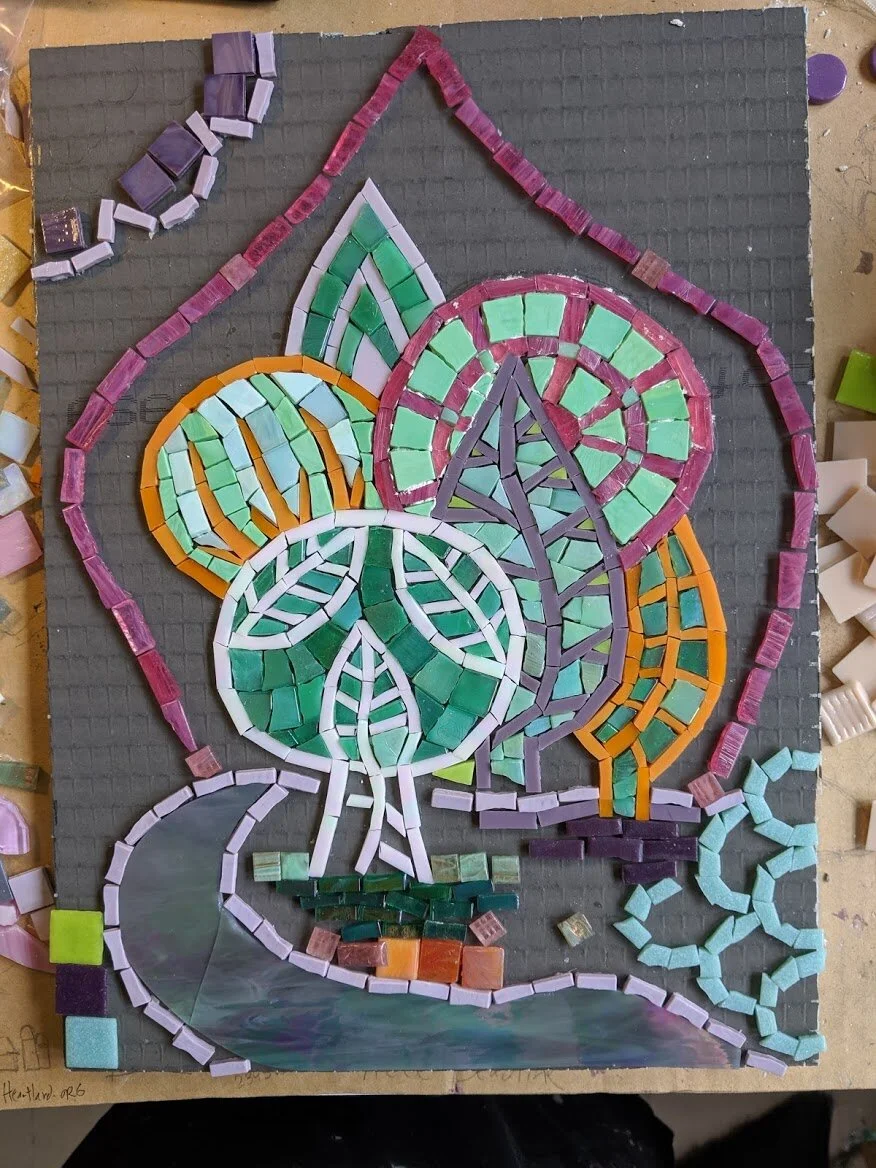
Among the Trees in Process

I think it’s fun to look back after a piece is finished and see where it started. Check out the finished piece on my mosaic portfolio page.

Magial Trees process 1.jpg
Magical Trees process 2.jpg

LOUD at the Library Open Mic + Art Night Sept. 25

Smalltown Eclectic & MELSA present LOUD at the Library Open Mic + Art Night!

September 25, 6 - 8pm

Belle Plaine Public Library, 125 West Main Street, Belle Plaine, MN

Open Mic: A live show where audience members who are amateur performers are given the opportunity to sing, rap, play an instrument, recite poetry, spoken word or comedy on a stage. (Must be family-friendly.) A professional, multi-channel sound system, electric piano, acoustic guitar and bongos are available for use. Soundtracks and instrumentals brought on your phone or device can also hook into our sound system.

Art Night: Bring your original art to display for the night!  Tables provided. Artwork can be propped against walls and book shelves. Bring your own easels for larger displays. Youth art welcome! Email us at smalltownbpmn@gmail.com to reserve a space to display your art.

FREE and Family-Friendly event featuring local, musical and artistic talents! 
Smalltown Eclectic - "Cultivating big talent in small communities through Open Mics, Art Exhibits and Concerts featuring all ages and abilities."

This project is funded with money from Minnesota’s Arts & Cultural Heritage Fund. 
Bring your friends! See you there!

Smalltown Eclectic.jpg

LOVE

This simple mosaic love plaque rests at the entrance of my family's home.  

Mosaic LOVE Plaque

Mosaic LOVE Plaque